
Mechanical
Overview
Welcome to the Mechanical Onboarding for the 2025-2026 school year!
Goals
- Learning
- How do we use CAD software in SCR?
- What is a part file?
- How can you import part files?
- What is an assembly file?
- Practical
- How to use Onshape
- How to design parts for 3D printing
- Export, slice, and print 3D models
Getting Started
Create an OnShapeonshape account
Joining The Onboarding Team
Send your Onshapeonshape account email in the onboarding-mechanical discord channel.
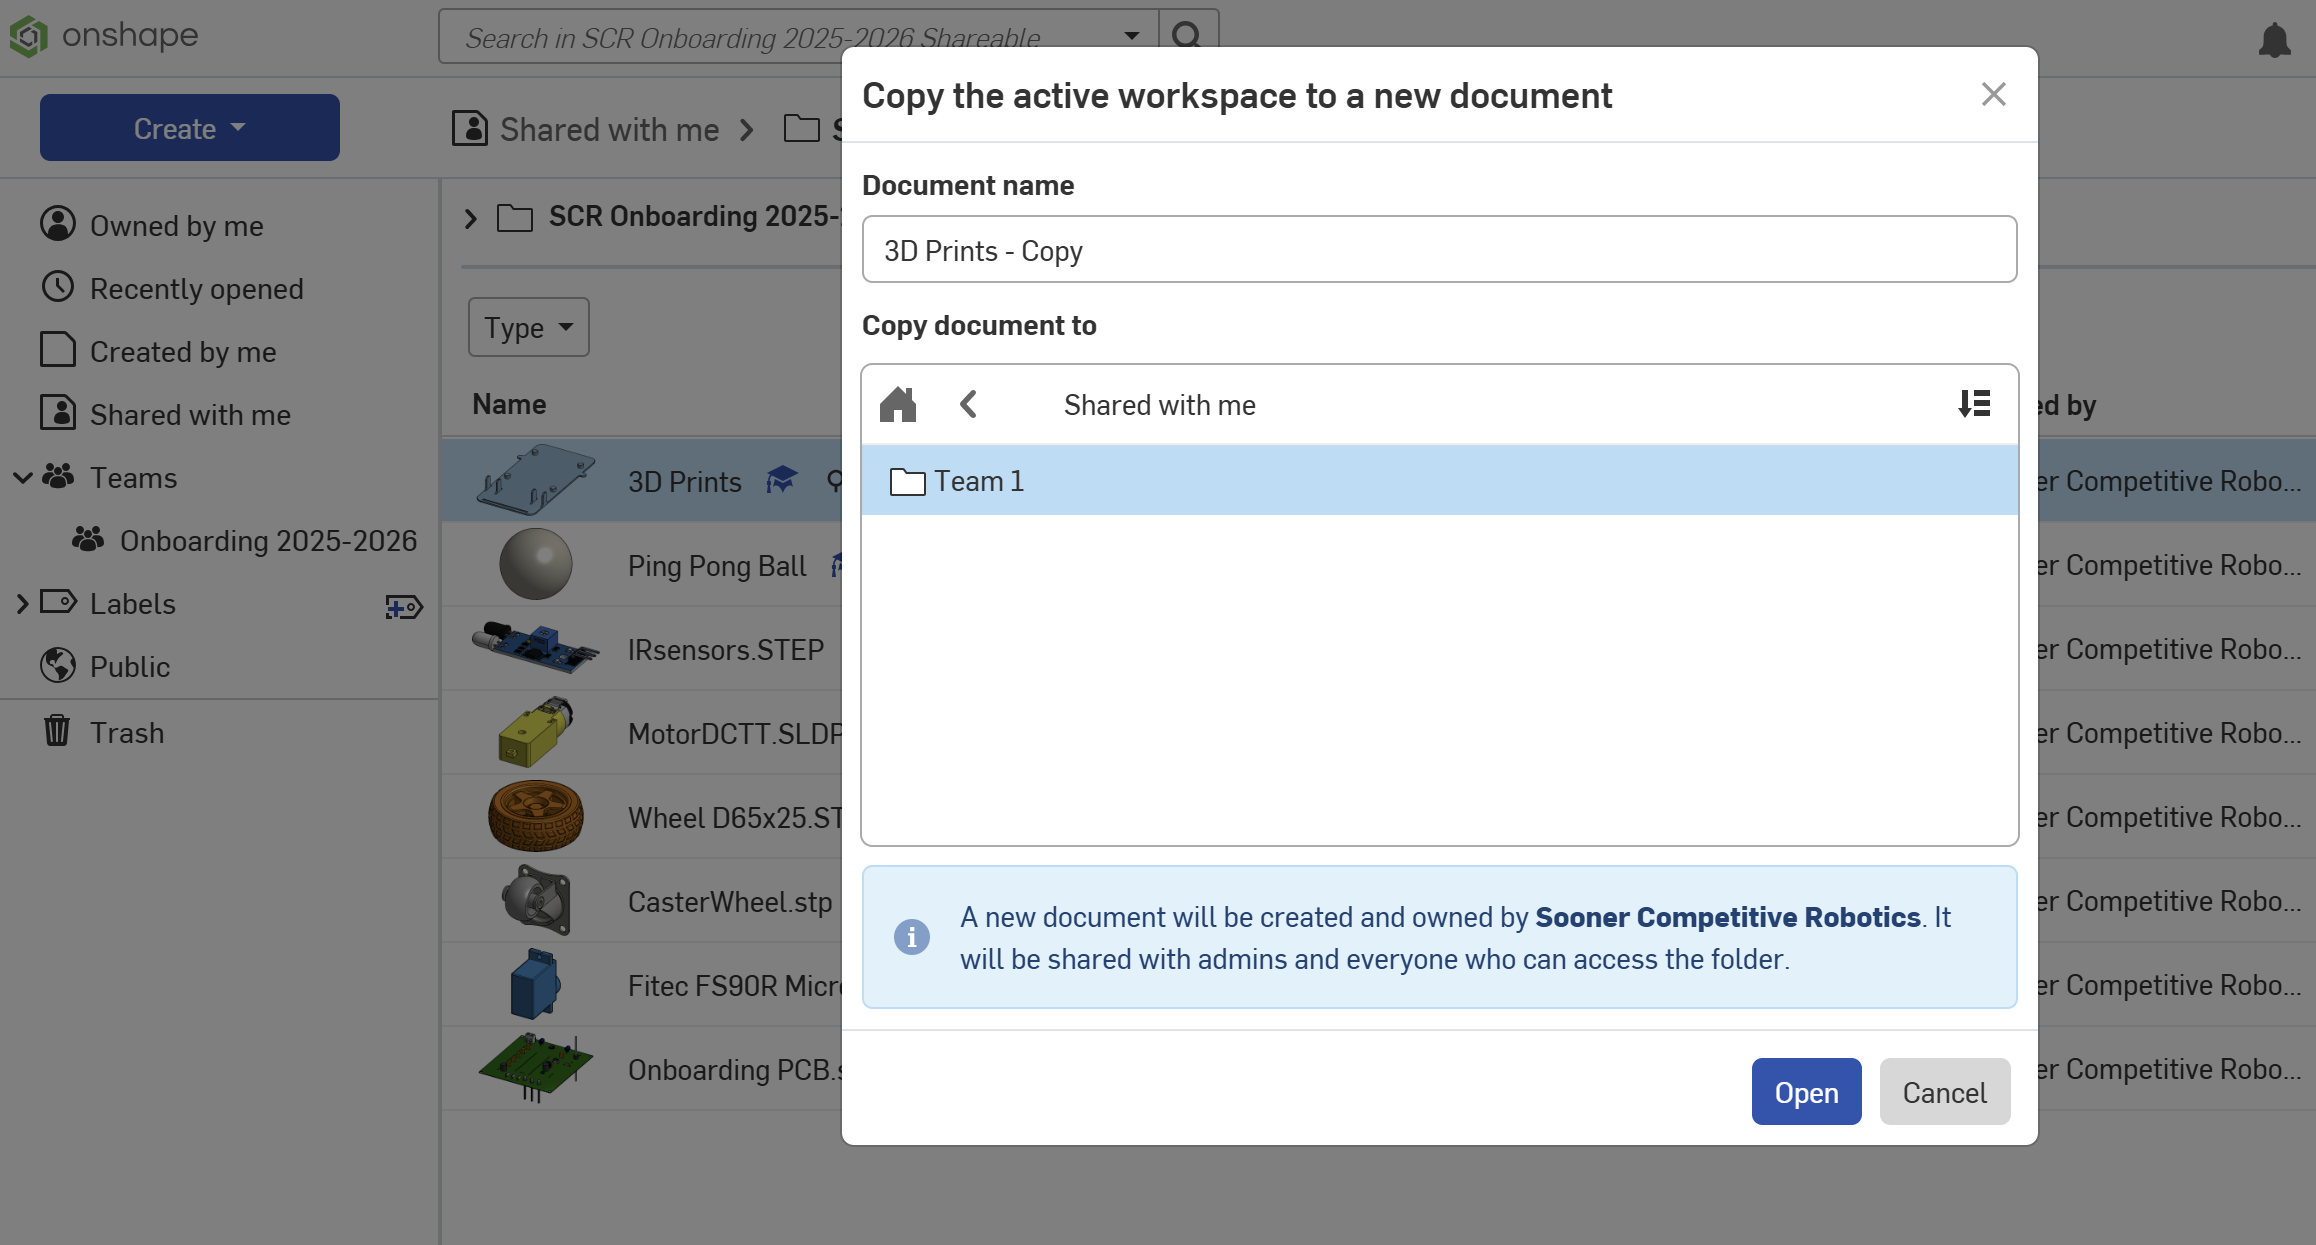
Once you've been added to the team you should be able to see the shared parts folder for onboarding.

Creating Parts
This tutorial will go through the steps for creating a payload bucket.

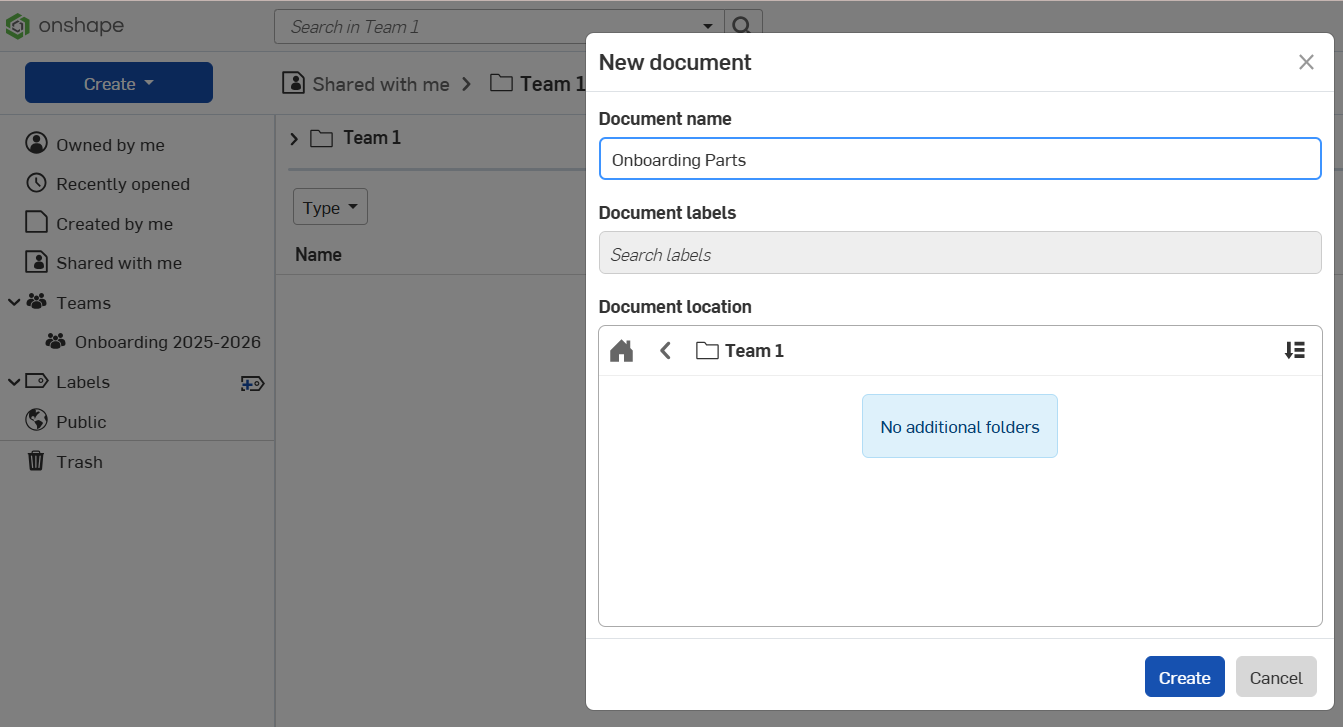
and create a document for your parts in your teams onboarding folder
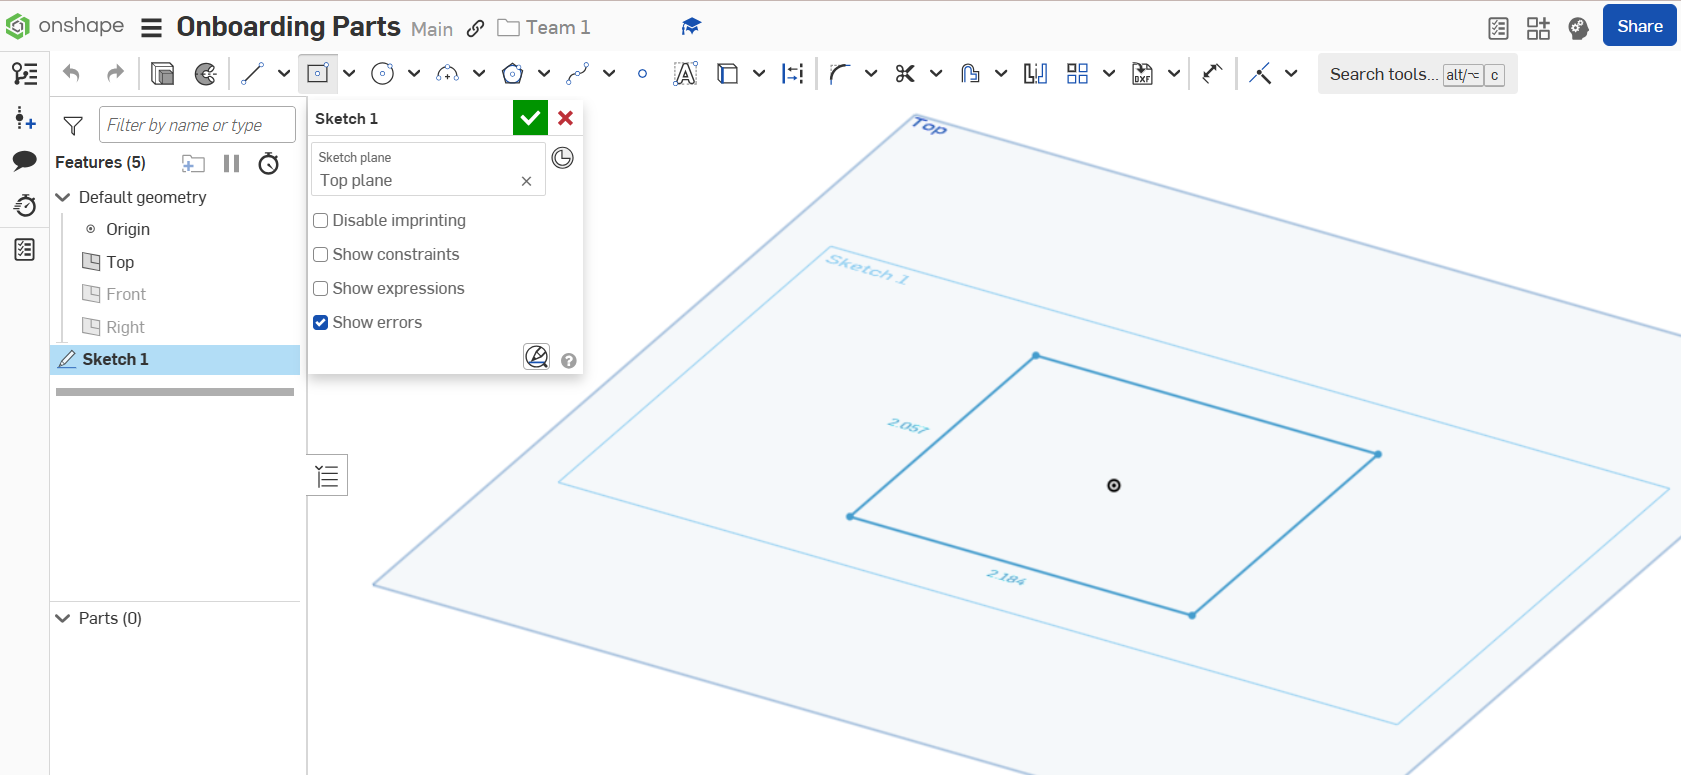
Open the document and select Sketch

Choose the top plane to start your sketch. You can hide the front and right planes while editing this sketch like this

Create a center rectangle and dimension it at 1.85in on each side.

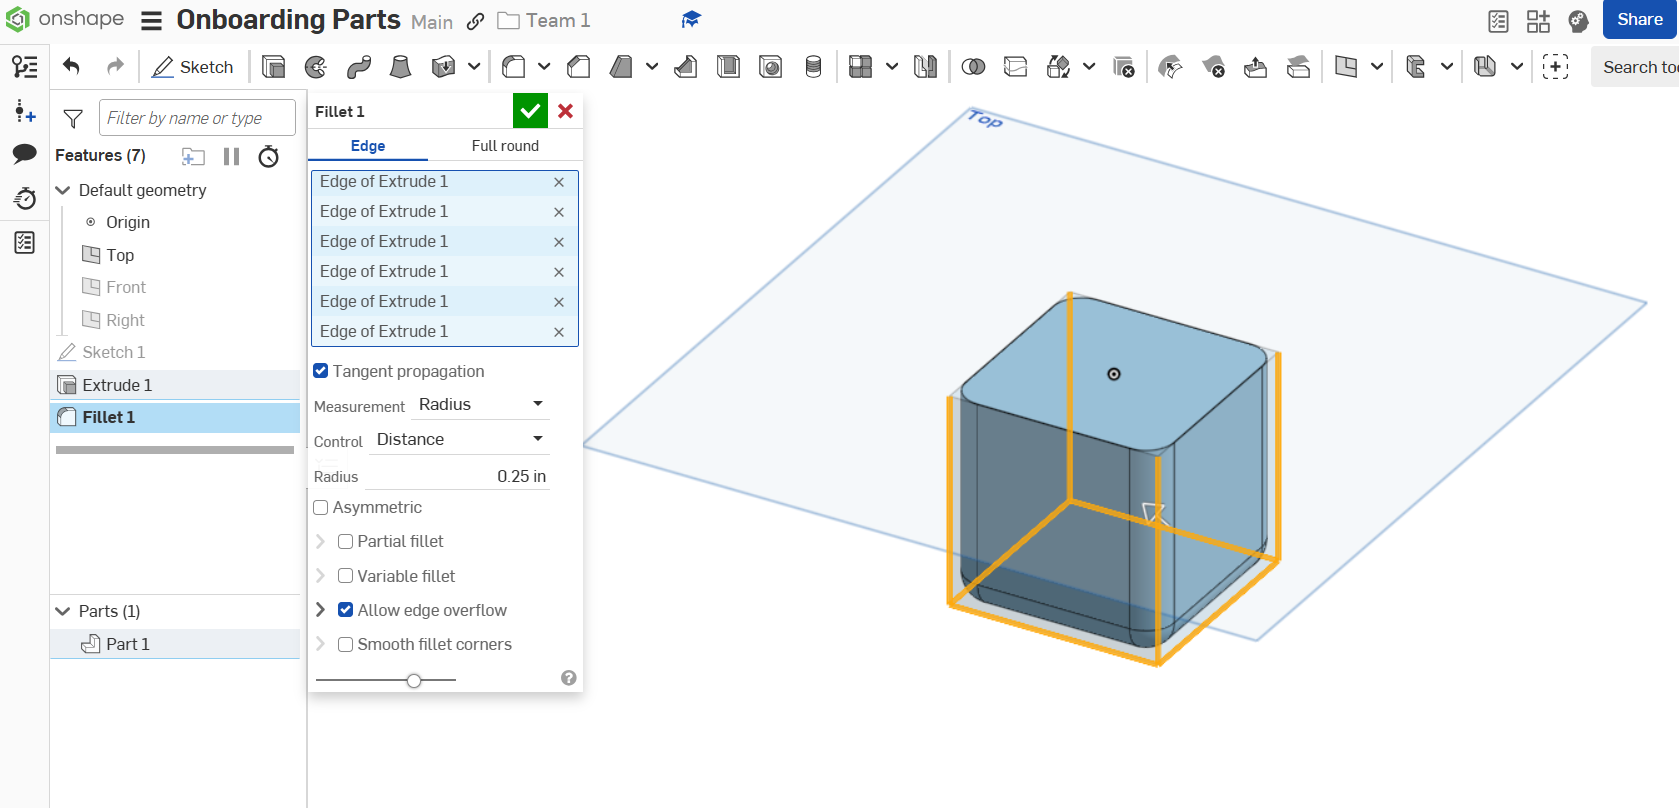
Select extrude and extrude at a depth of 1.85in.

Select the 8 edges of the part and create the following fillets
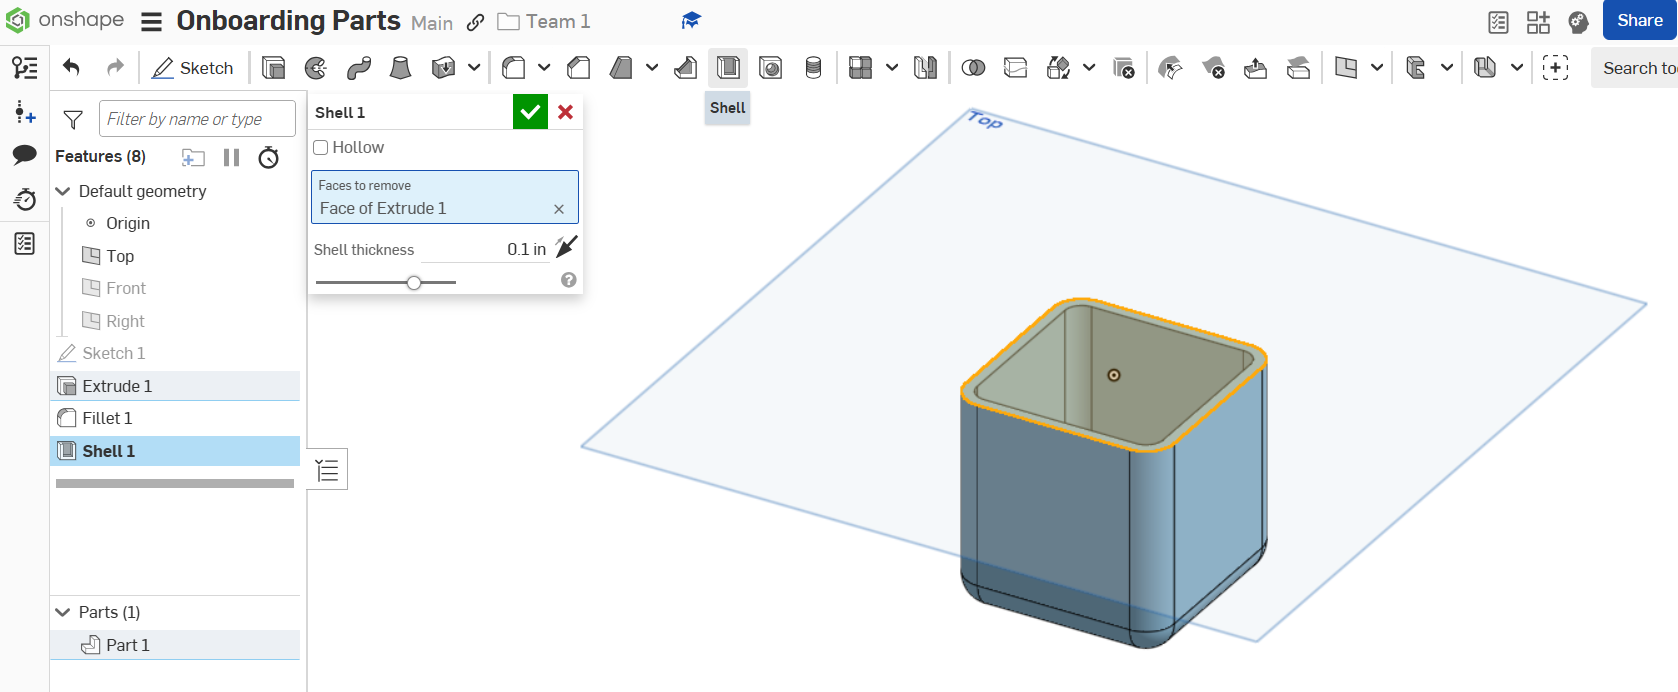
Create the following shell on the top face of the part.
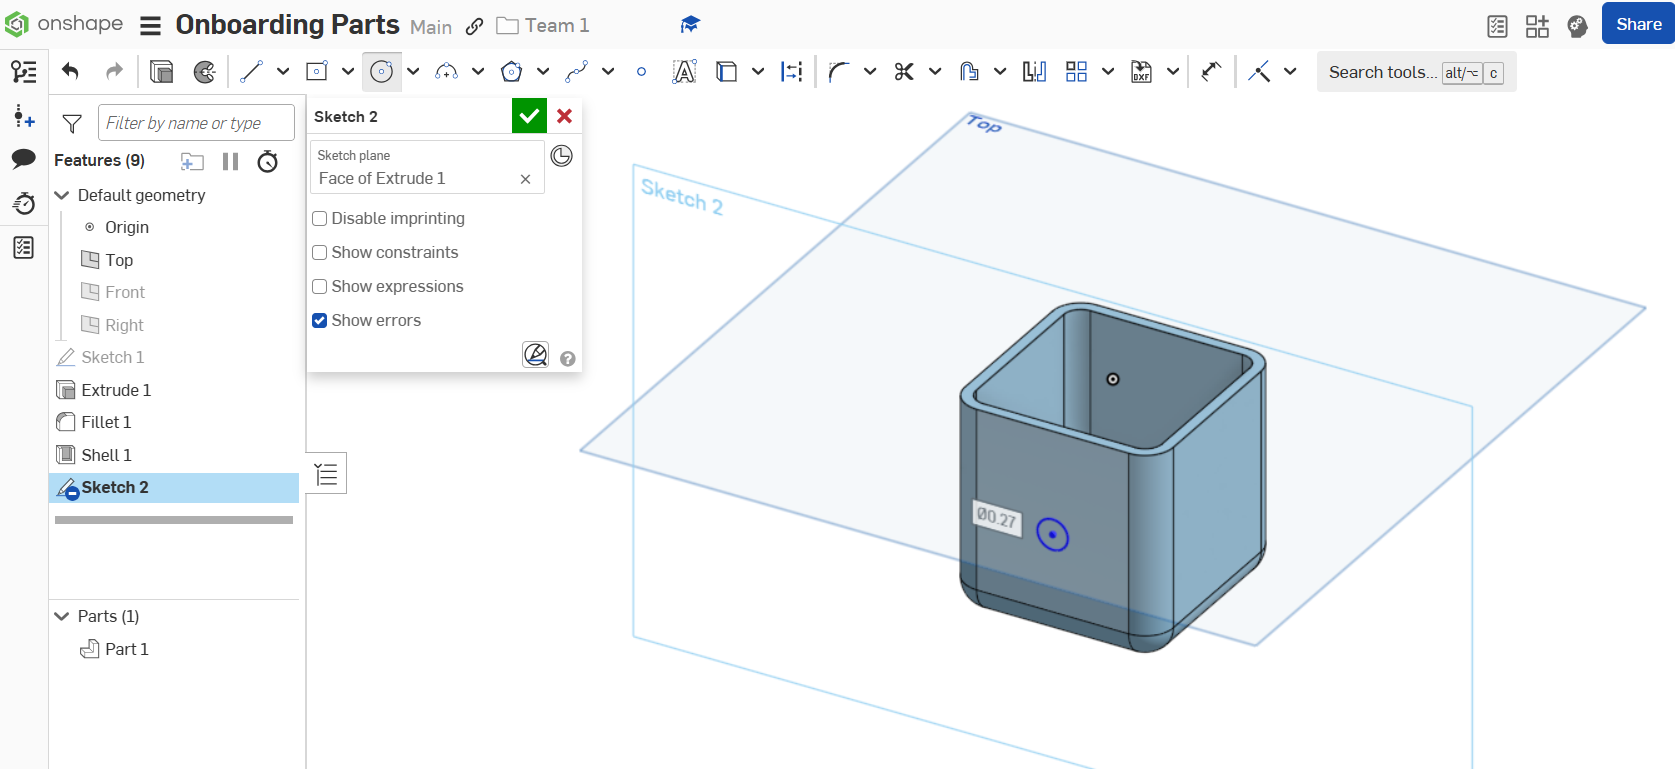
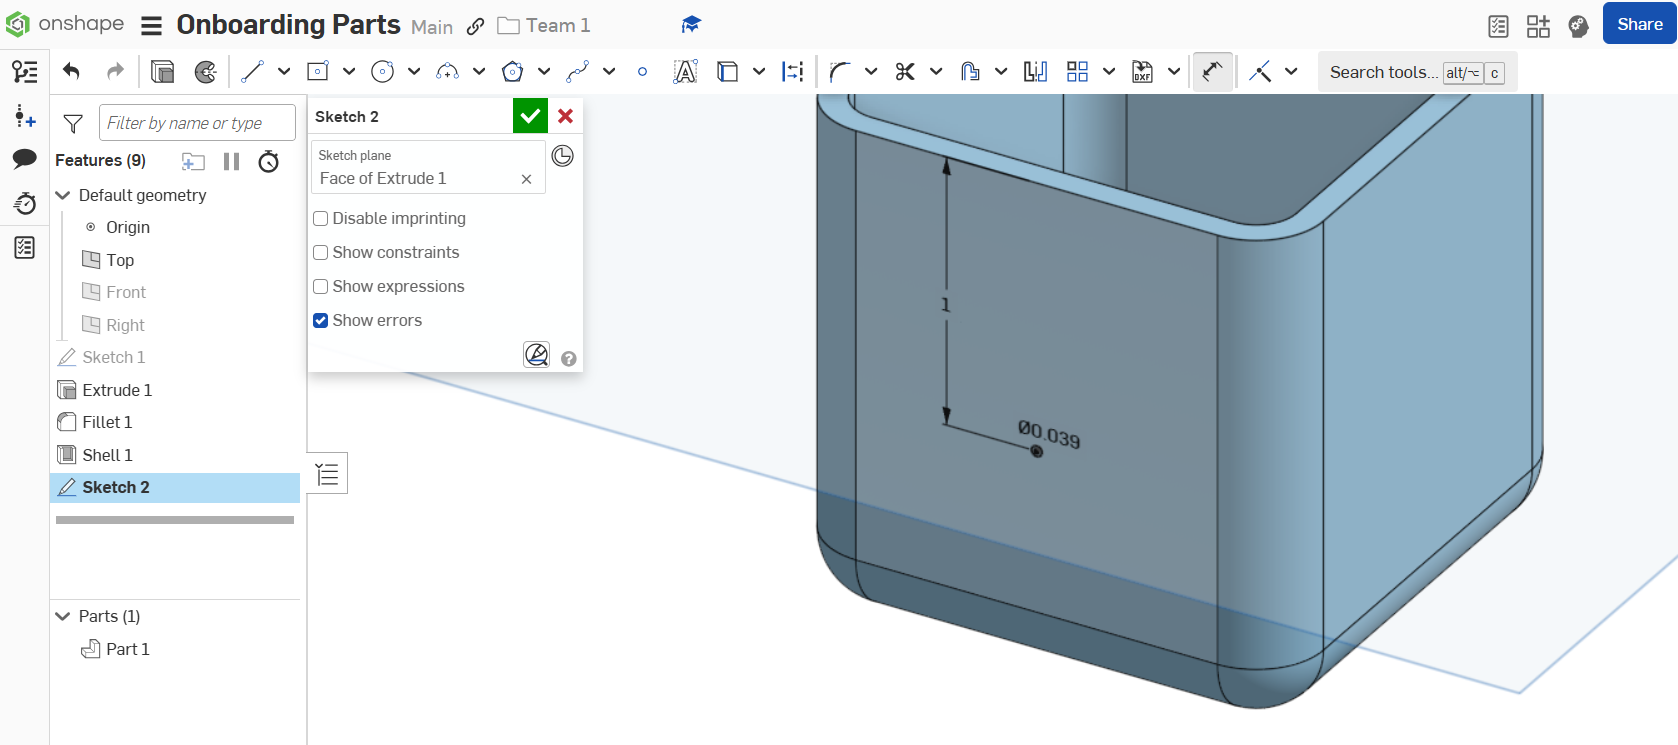
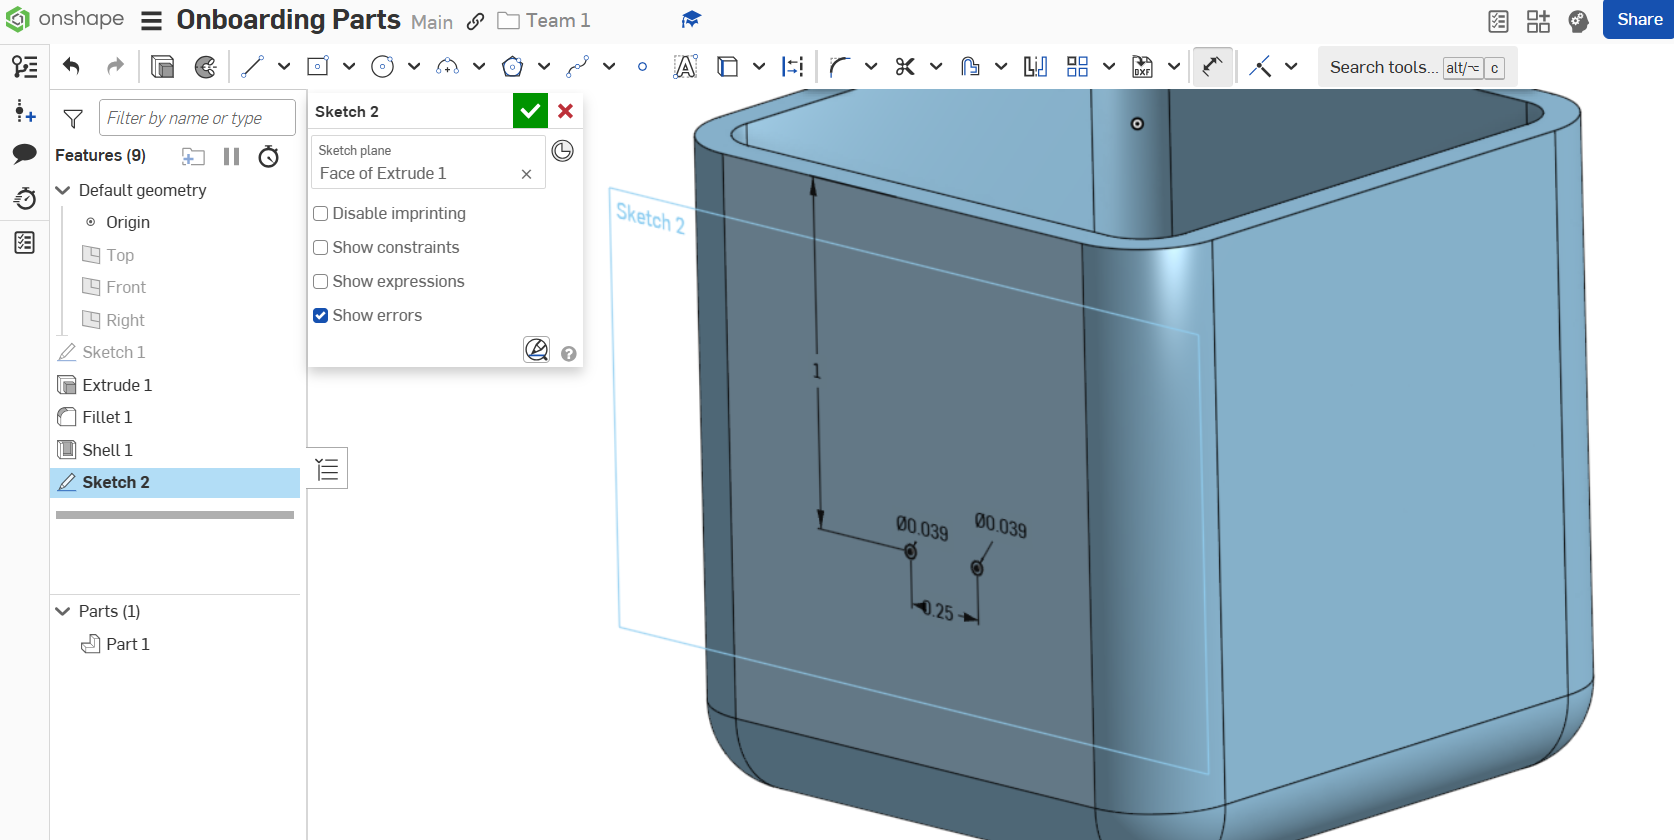
Create the following sketch and dimensions on the front face of the part
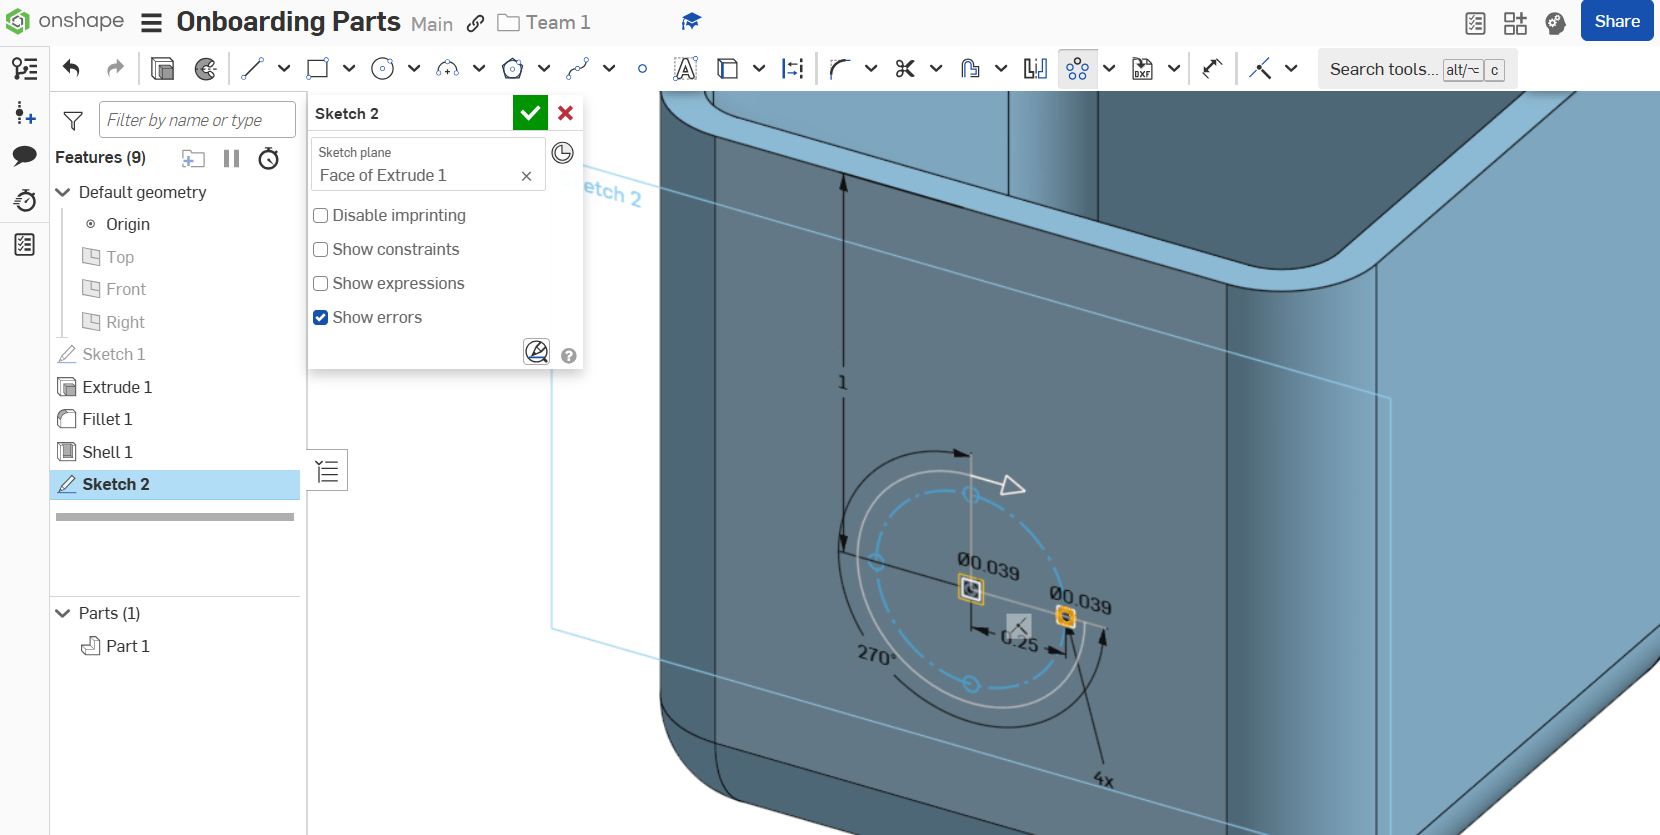
Select the circular pattern tool
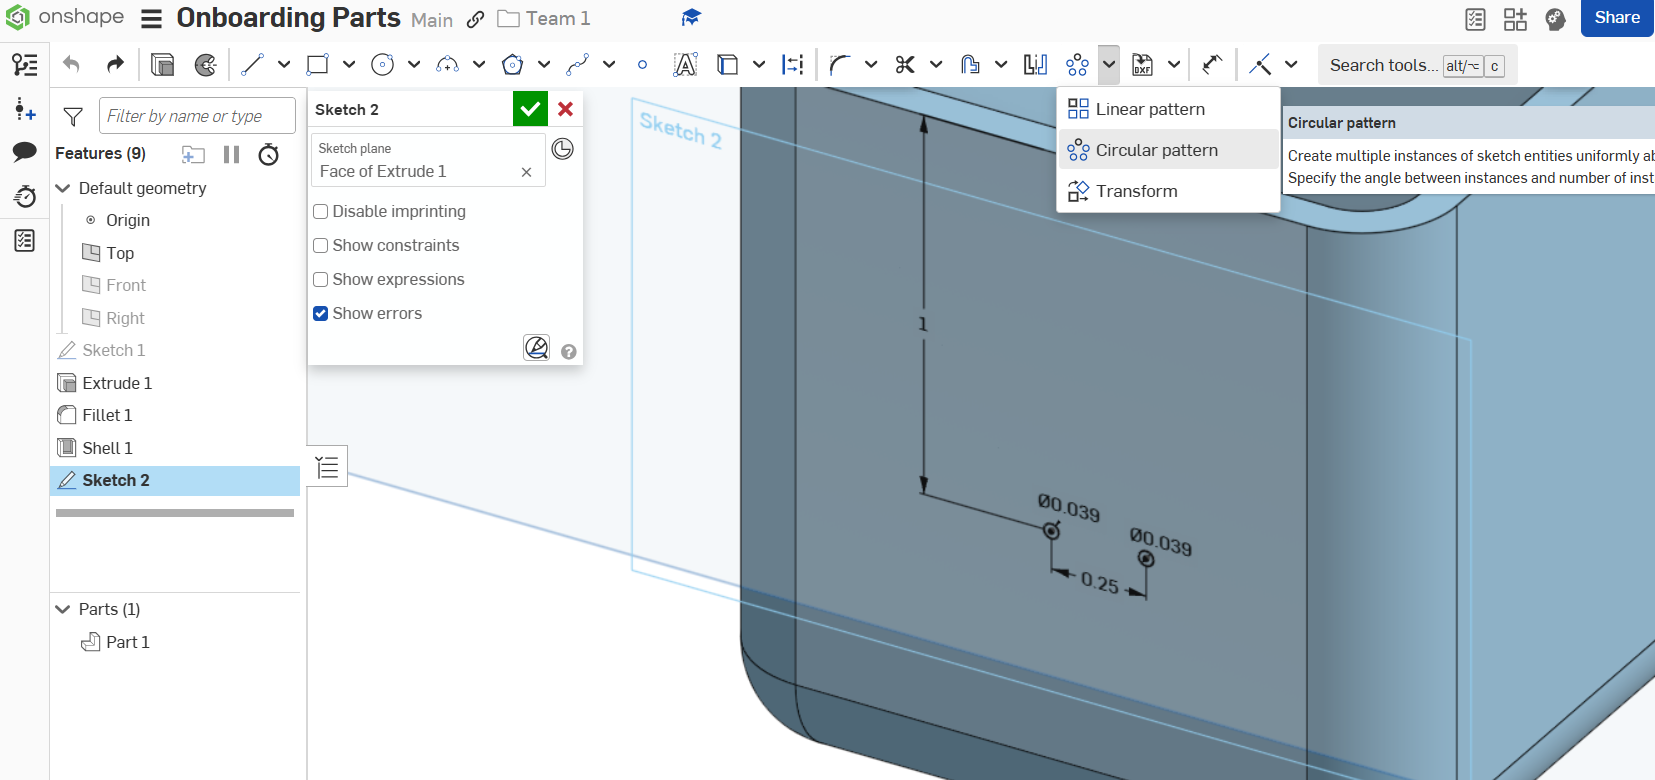
Select the outer circle and move the origin of the pattern to the inner circle.
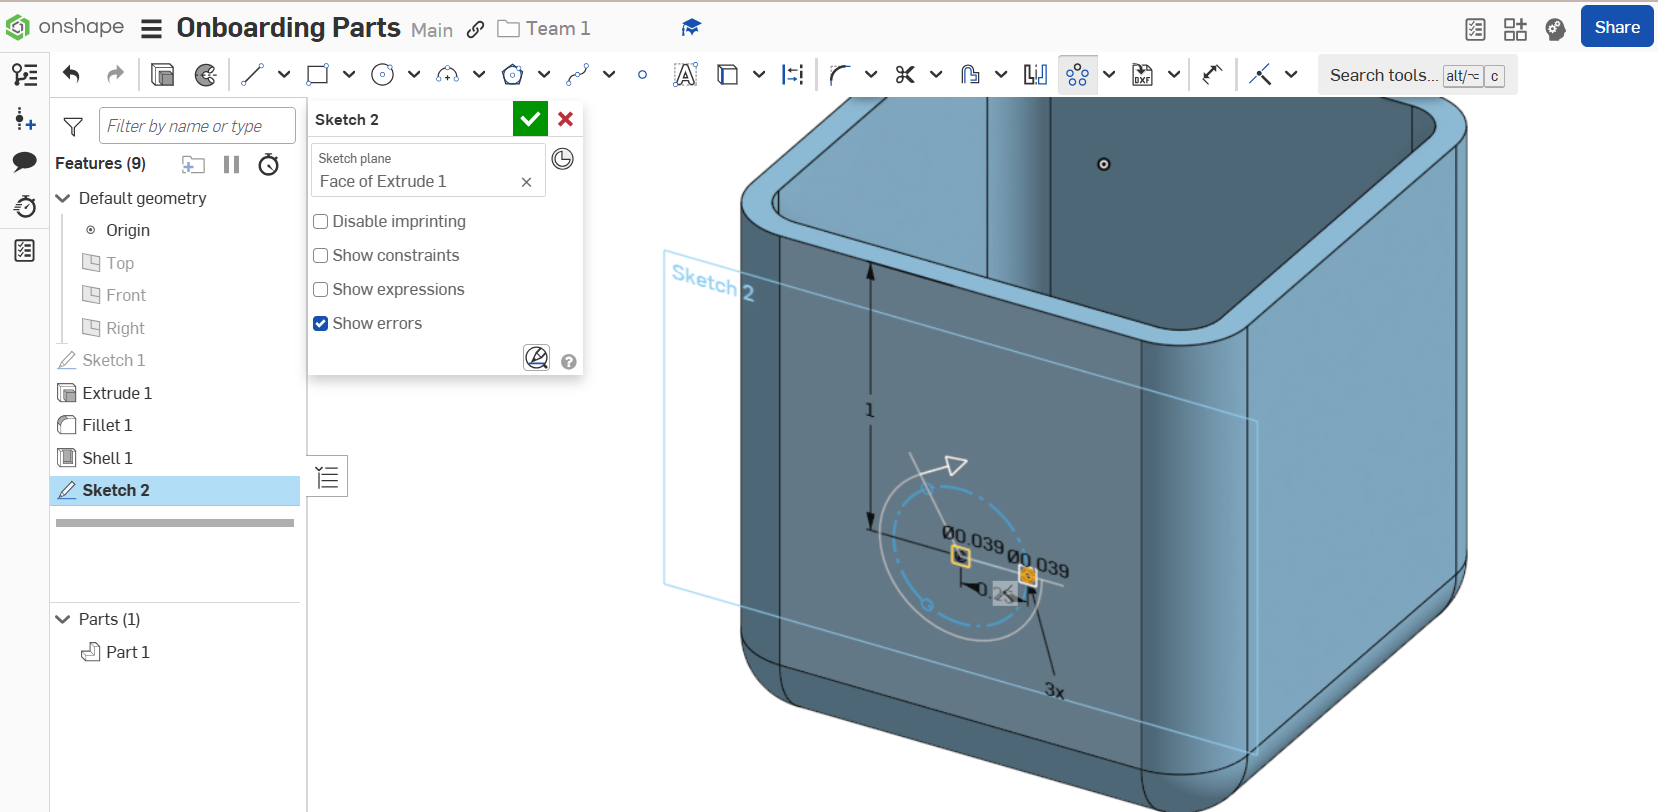
Change the count of the pattern to 4 and the angle of the pattern to 270.
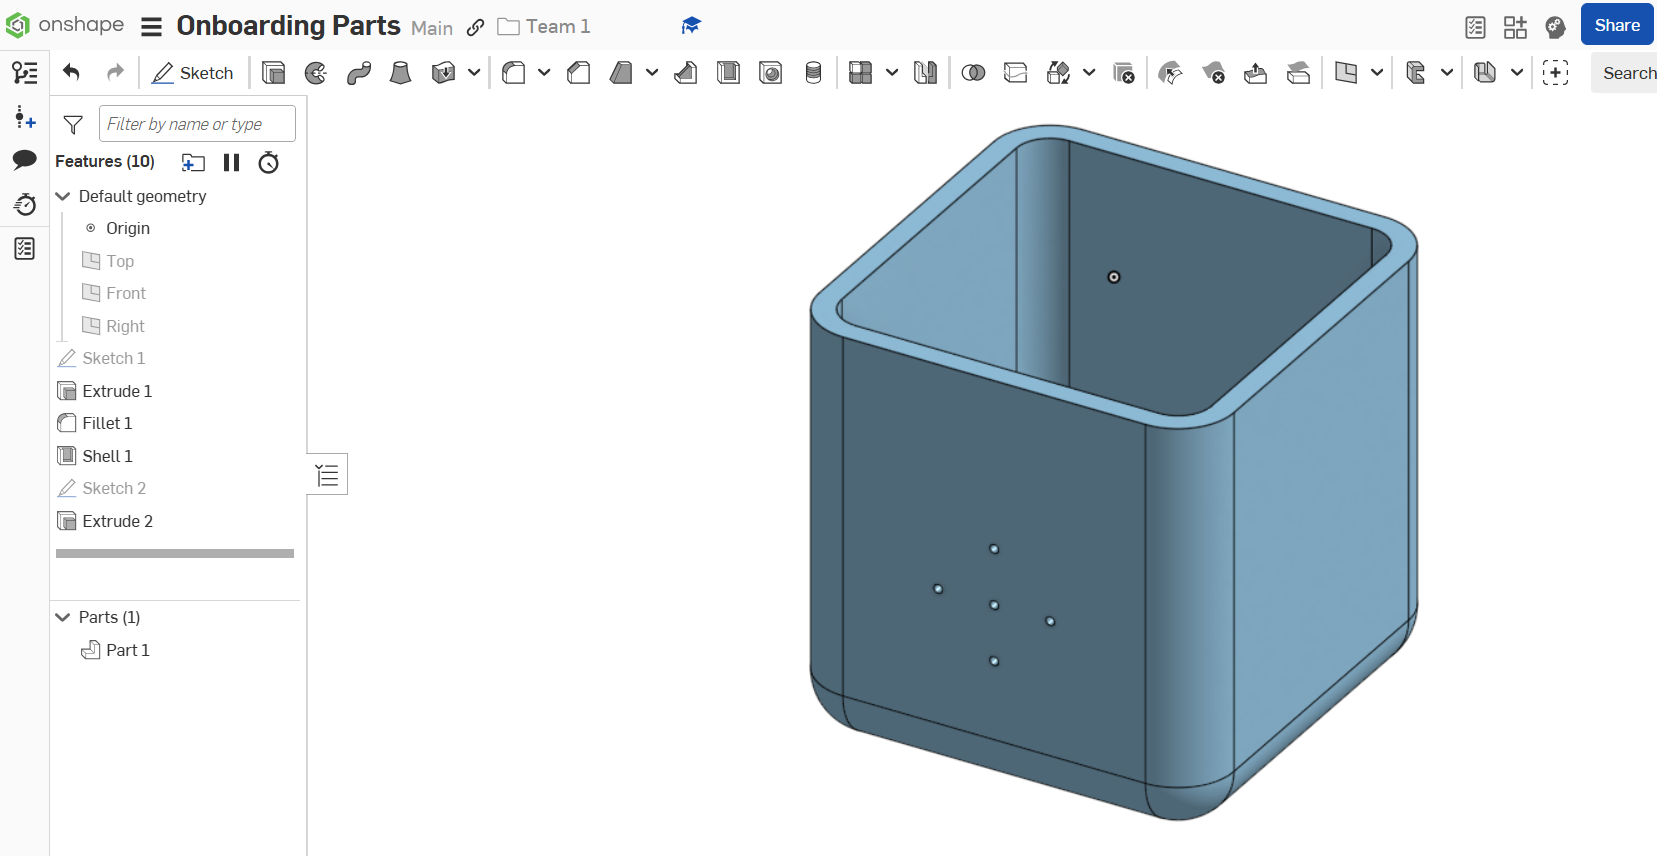
Exit the sketch and select the extrude tool, then choose Remove, Up to next and select the back of the front face of the part.

The final part should look as follows:
Follow Along

Edit the components based on the engineering drawings below.
Note: The provided variable table may be helpful for convenience.
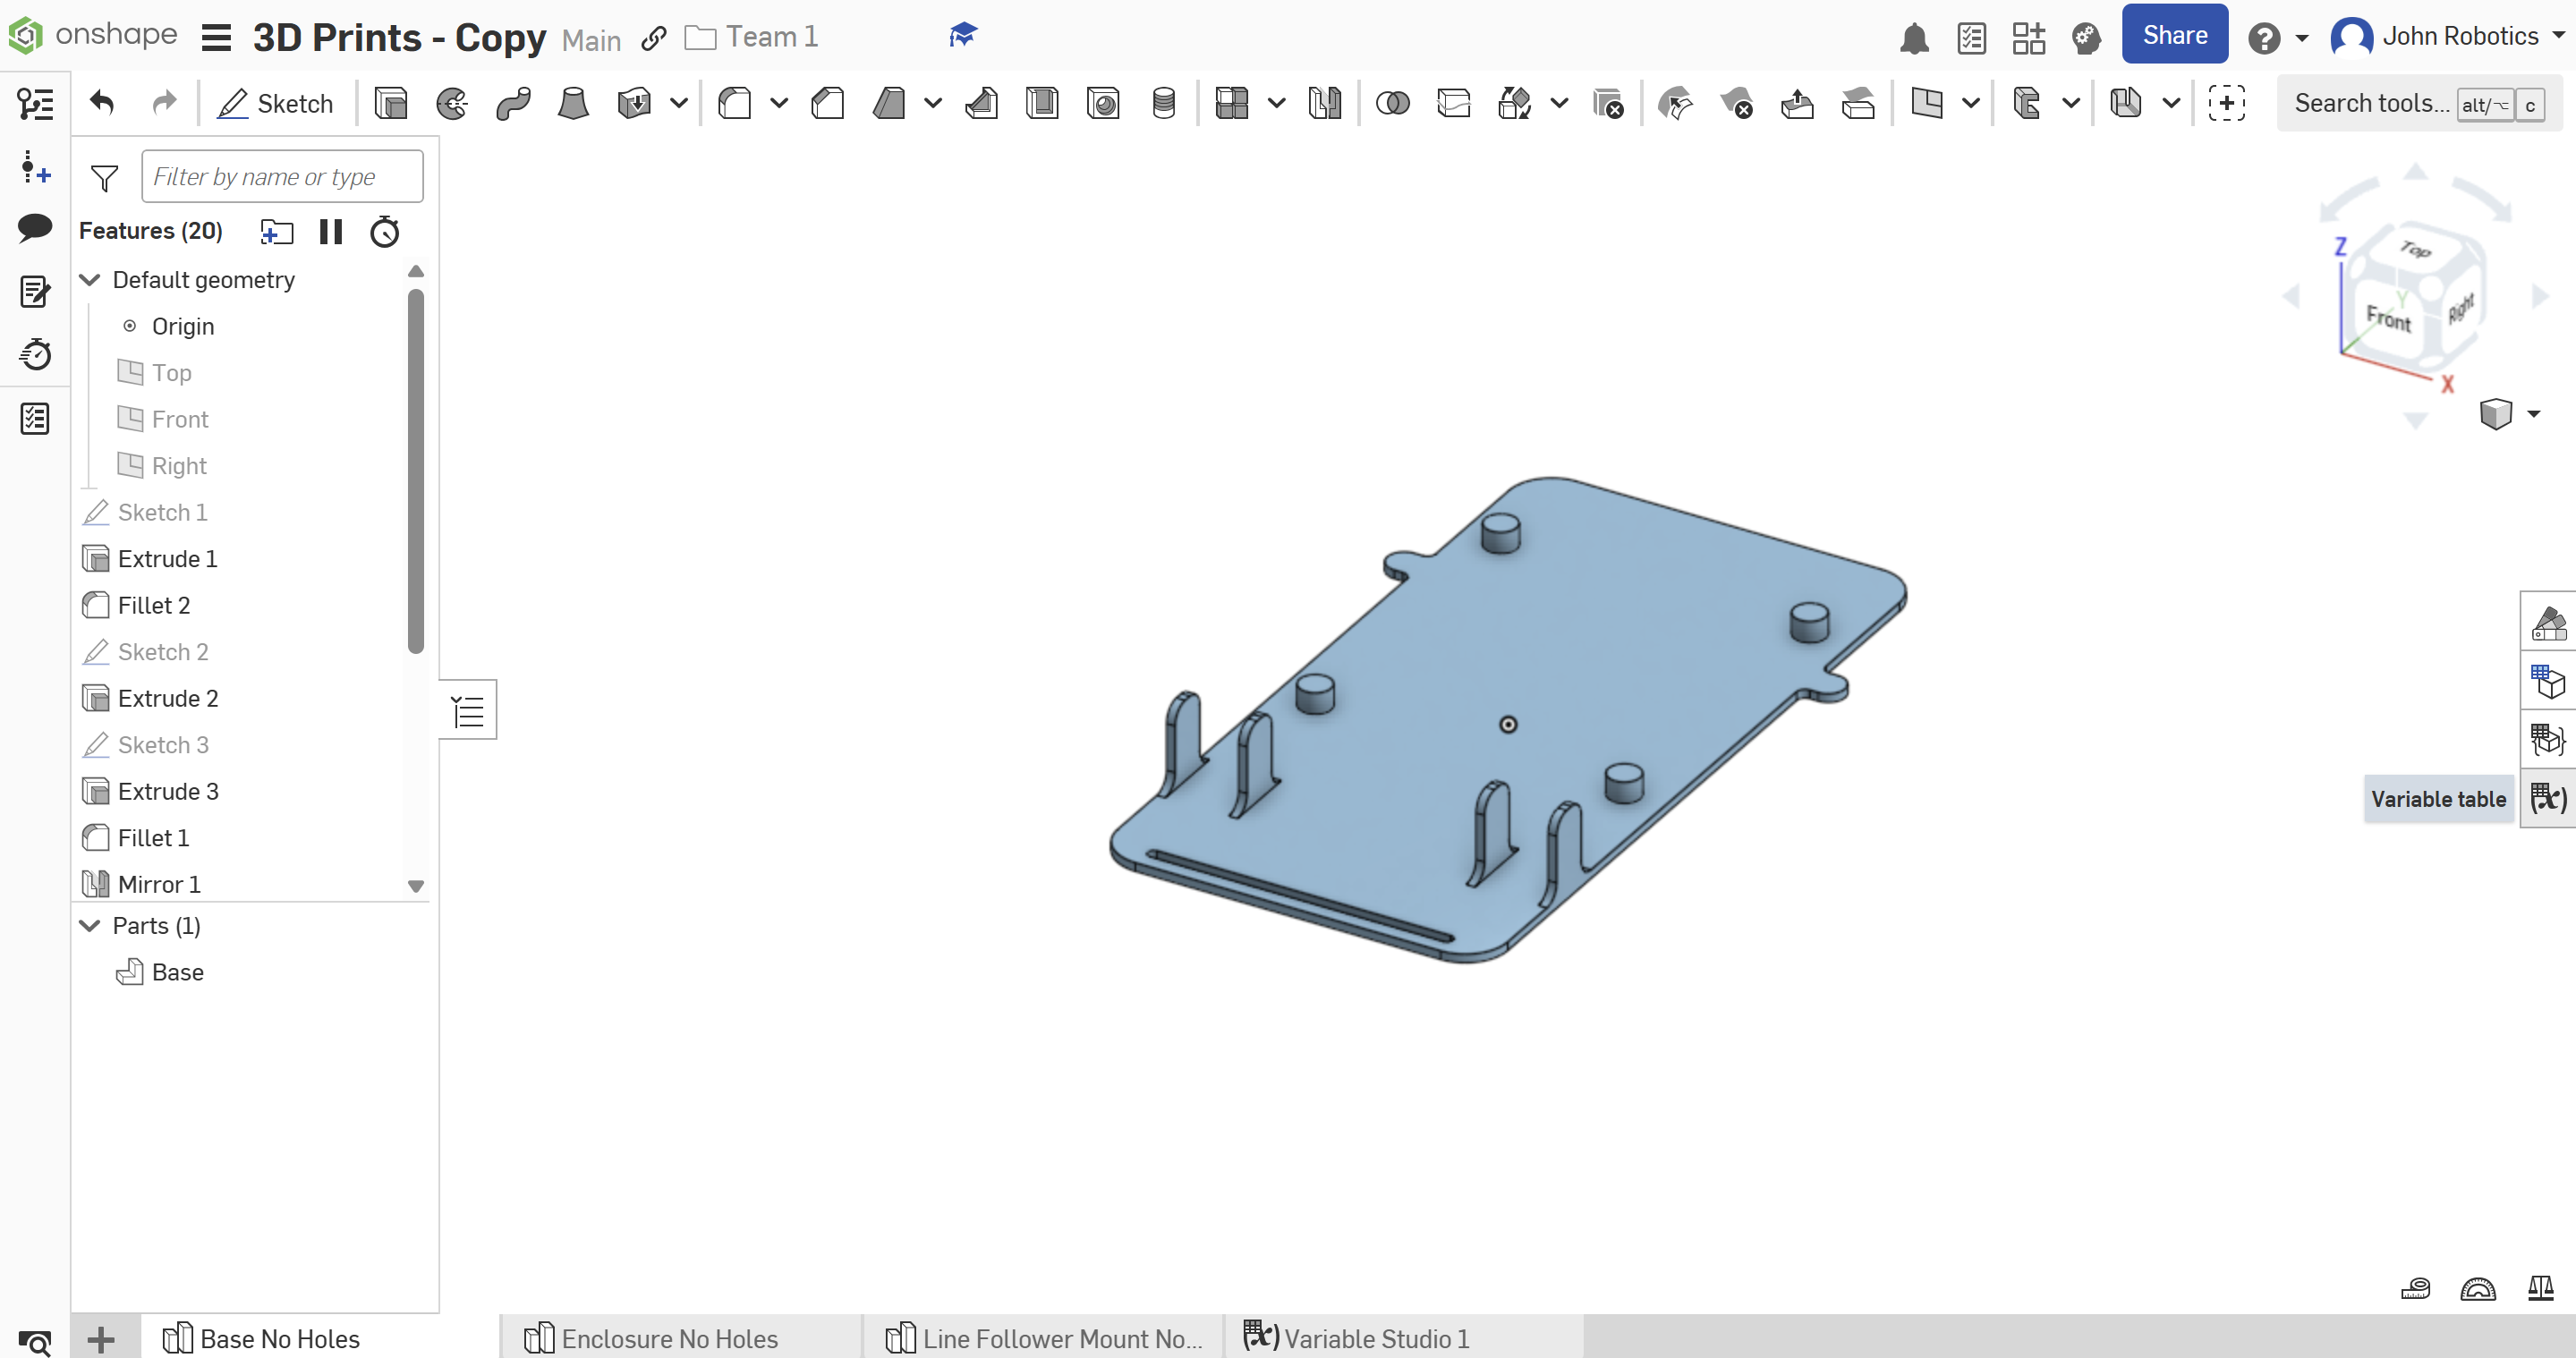
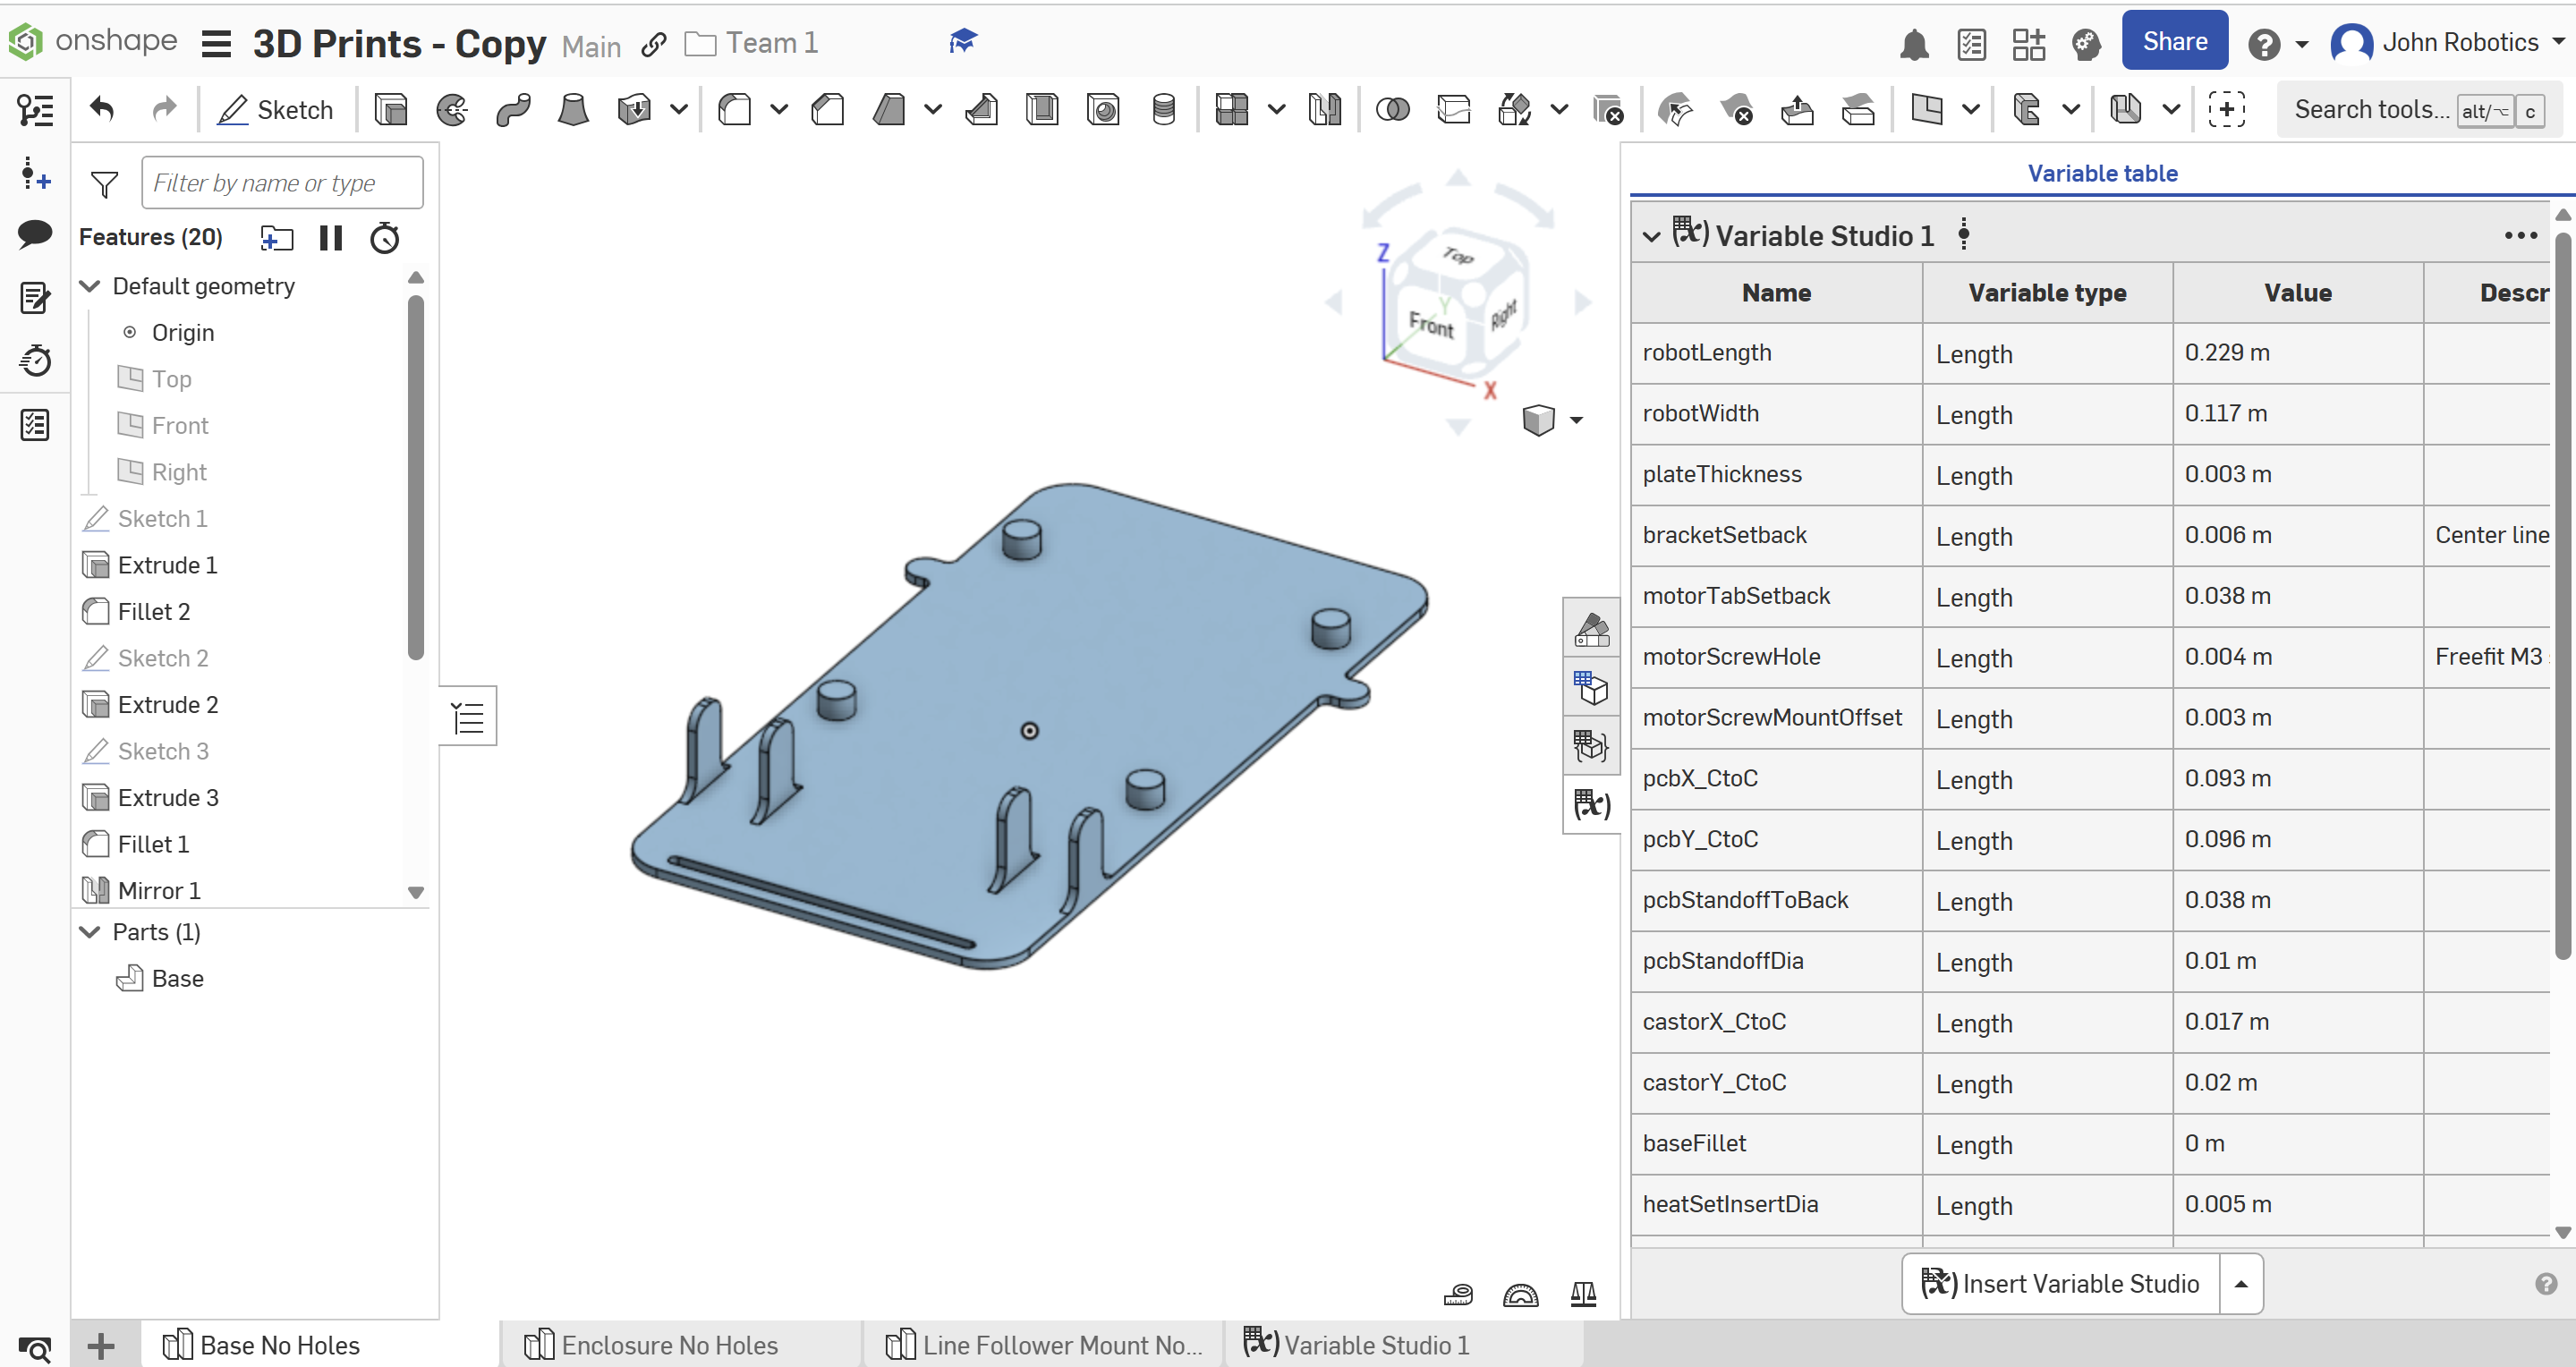
Base

Enclosure

The team name is a .025in cut on the enclosure surface
Line Follower Mount
